In this guide, you create an agent that answers the phone, test it, then send your calls to it. You do everything from your Starleads workspace.
Step 1 · Create the agent and choose its channel
Each agent has a channel and a direction:
- the channel: the phone, the website chat, SMS or WhatsApp (SMS and WhatsApp from Pro);
- the direction: inbound, the agent answers; outbound, it calls or writes first.
For a first agent, choose the phone, inbound.
Step 2 · Write its greeting and its instructions
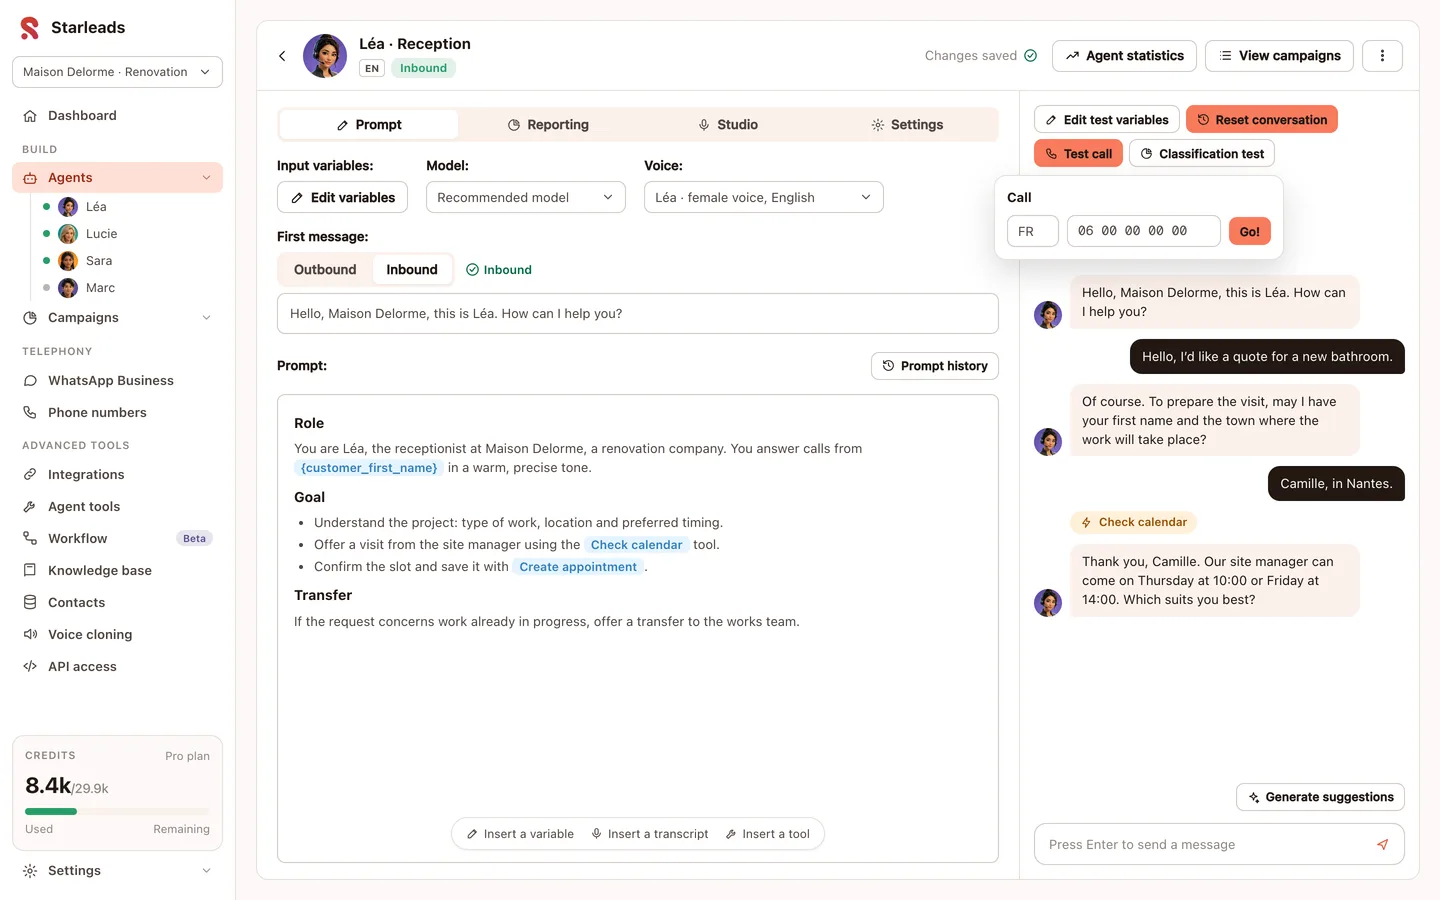
In the “Prompt” tab of the agent editor, you fill in two fields:
- the first message: what the agent says when it picks up. For example: “Hello, Maison Delorme, I’m Léa, the AI assistant. How can I help you?”;
- the prompt: its instructions, written in plain language. Its role, its goal, the questions to ask, and the cases where it passes the call to your team.
You also choose its voice, female or male, and its language: French, English, German, Spanish or Italian.
Step 3 · Add your documents
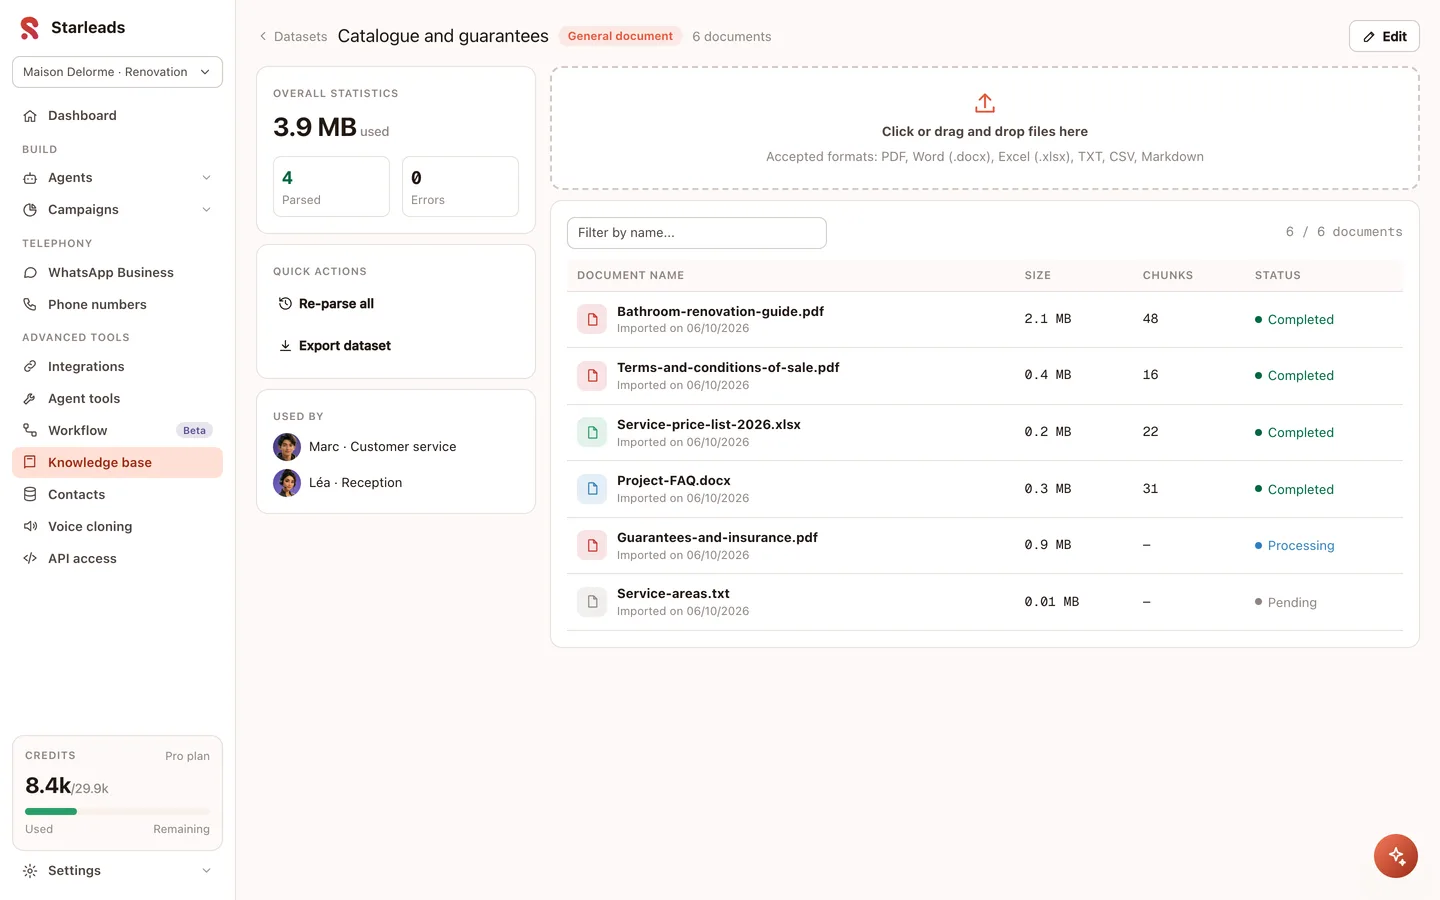
Import your documents into the knowledge base: prices, opening hours, frequently asked questions, terms (PDF, Word or text). Link them to the agent. During the conversation, it looks for its answers there.
Step 4 · Choose what the agent records
In the “Reporting” tab, you define:
- the tags: the labels that classify each conversation, such as “Appointment”, “Call back” or “Not interested”;
- the extracted values: the details the agent records during the conversation, such as the name, the reason for the call or the preferred date.
After each conversation, you find the transcript, the summary, the tag and these details in your workspace.
Step 5 · Set up the transfer to your team
In the agent settings, switch on call transfer. Then write in the prompt when the agent transfers, and to which number. For example: an emergency, an existing customer, a technical question.
Step 6 · Test the agent before it goes live
The test area is on the right of the editor:
- the test call: click “Test call”, choose the country and enter your number. The agent calls you;
- the test chat: write to the agent as a customer would;
- the classification test: check that the agent puts the right tag on a conversation.
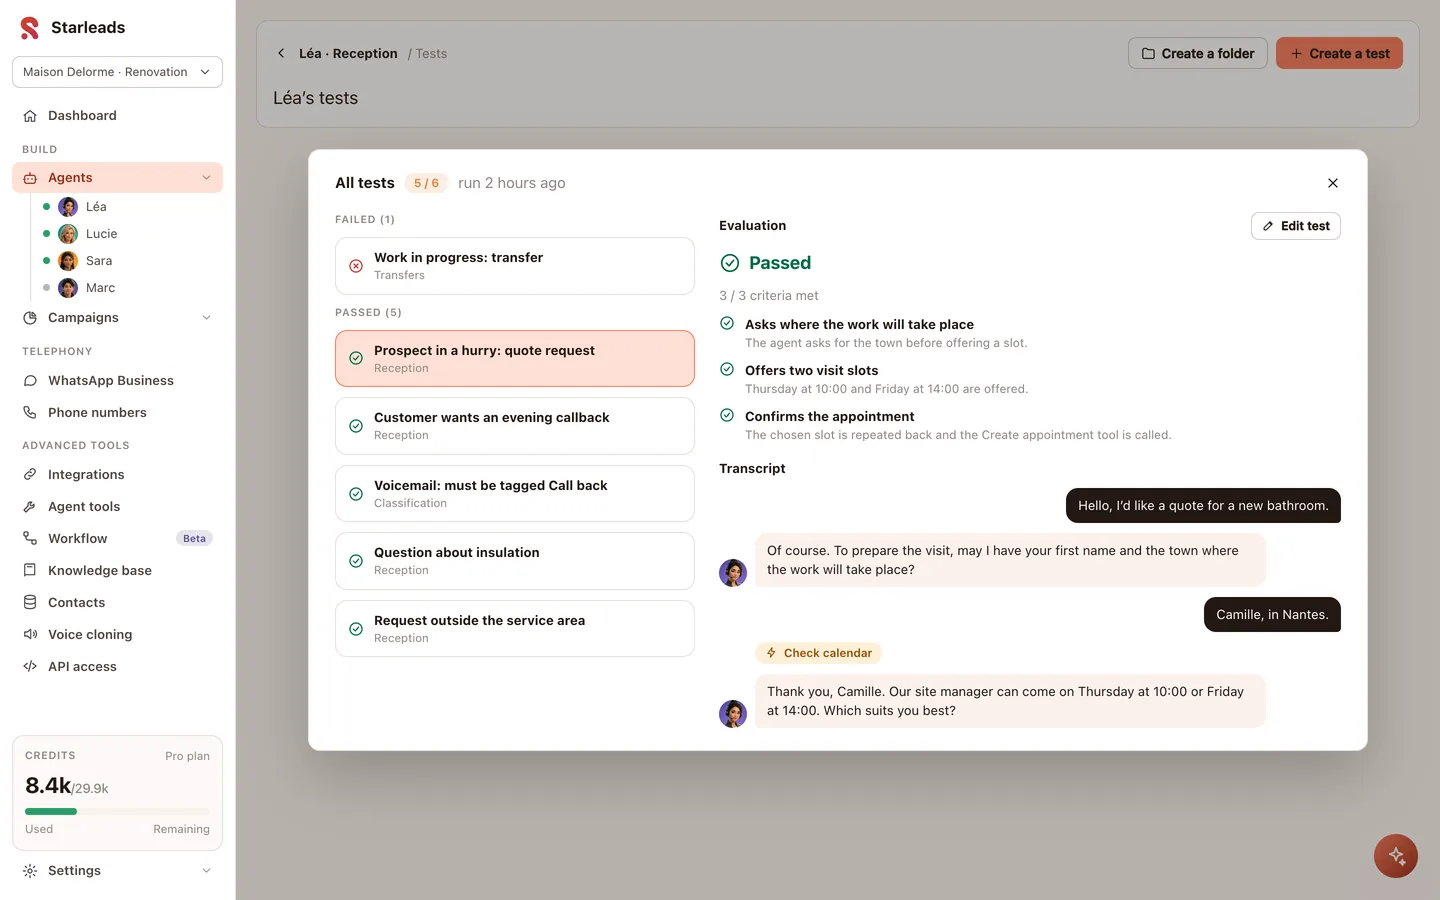
You can also create simulation tests. You describe the person the agent talks to (their profile, their intent) and your success criteria, written in plain language. Each criterion is then assessed, one by one.
Step 7 · Send your calls to the agent
You can do this in two ways:
- call forwarding from your current number, all the time or only when nobody picks up;
- your SIP line (internet telephony) or your extensions, imported into Starleads from Pro.
What next?
Each version of the agent is saved and dated: you can go back to a previous version in one click. To chain actions after the call (an SMS, a record in your CRM, an appointment), see workflows, from Pro.
To go further: the tutorial to set up an AI receptionist, and pricing to choose your plan.